
The rugged mountain passes of Pakistan’s Khyber Pakhtunkhwa have long been a graveyard for invading empires. Among the most grueling and fiercely contested military engagements of the 19th-century British Raj was the Ambela Campaign of 1863. Fought in the steep terrain of the Buner and Chamla valleys, this expedition turned into a massive quagmire for the British army, showcasing the unbreakable resolve and fierce resistance of local Pashtun tribesmen.
The roots of the conflict trace back to the aftermath of the 1857 Indian Rebellion. Remnants of the anti-colonial Mujahidin movement led by followers of Syed Ahmad Barelvi, whom the British labeled “Hindustani fanatics,” had regrouped in the remote mountain outpost of Malka within the territory of Buner. Having harbored rebels and launched sporadic raids into British-controlled territories, the British high command decided they needed to be permanently crushed.
In October 1863, an expedition force of roughly 6,000 troops under the command of Brigadier General Neville Bowles Chamberlain was authorized by the Lieutenant-Governor of Punjab. Chamberlain’s plan was to march through the treacherous Ambela Pass and establish an operational base in the Chamla Valley.
A Miscalculated Welcome and Fierce Resistance
Chamberlain assumed that the local Bunerwal tribes would remain neutral or friendly, believing the British were only targeting the Hindustani settlement at Malka. However, local Pashtun leaders and religious figures, including the influential Akhund of Swat, convinced the tribes that the British ultimate goal was the annexation of their sovereign lands.
The political landscape shifted overnight. Instead of a smooth passage, the British column faced a massive, highly motivated coalition of roughly 15,000 Pashtun tribesmen. Bogged down by rugged terrain and relentless sniper fire, the British were forced to halt and fortify exposed rocky outcrops along the pass, most notably Crag Piquet and Eagle’s Nest.
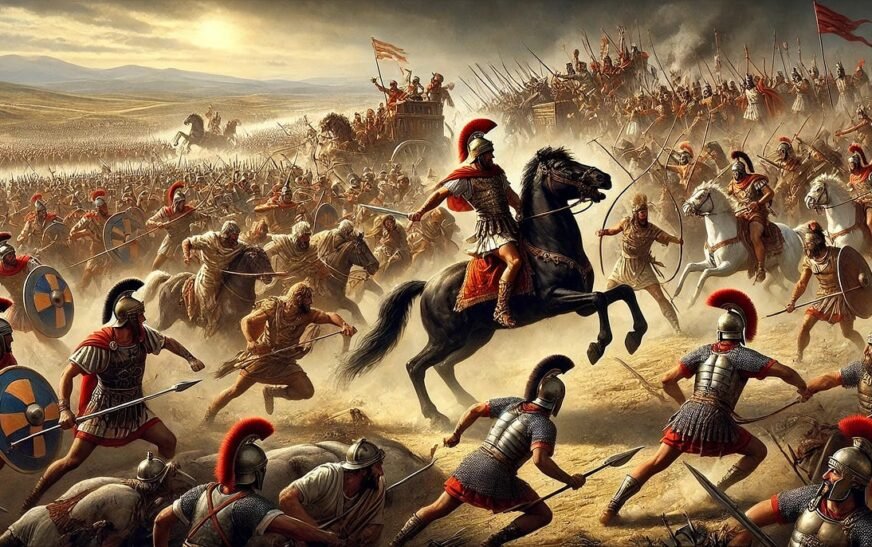
What followed was weeks of brutal, close-quarters combat. Crag Piquet became the focal point of the war—changing hands multiple times in fierce hand-to-hand combat as wave after wave of tribesmen charged British positions. The fighting was so ferocious that local tribesmen later referred to the site as Qatalgar (“the place of slaughter”).
Casualties mounted rapidly. General Chamberlain himself was severely wounded early in the campaign, forcing the Commander-in-Chief in India, Sir Hugh Rose, to step in and send heavy reinforcements, eventually replacing Chamberlain with Major General John Garvock.
The Resolution and Aftermath
Recognizing that a protracted military victory was proving excessively costly in both blood and treasure, the British resorted to diplomacy alongside military pressure. They engaged local intermediaries and tribal jirgas, assuring them the army had no intention of occupying Buner.
Realizing a diplomatic off-ramp, the Buner jirga agreed to terms in mid-December. To satisfy political prestige and fulfil the expedition’s original mandate, a small British escort was allowed to march to Malka, where they burned down the empty mud-brick stronghold before withdrawing from Buner.
The campaign was technically concluded, but it came at a staggering cost. The British forces suffered nearly 1,000 casualties, proving to colonial authorities that subjugating the borderlands of the North-West Frontier would require immense resources and constant friction. To this day, the Battle of Ambela remains a stark historical testament to the fierce Buneri tribal people.
Read also: Buner residents demands Barrister Gohar to start work on Sawari Daggar bypass